
Updated on 8 Jan 2026
According to a survey by Unbounce, 82% of consumers said that slow page speeds impacted their purchasing decisions. If you own a small business or ecommerce website, your page loading speeds could – quite literally – make or break your growth goals.
To keep people on your website and encourage them to make a purchase, you need to optimise your page speed as much as possible. Caching is vital for improving page loading speeds, but what exactly is caching, and how can you use it on your VPS?
What is caching?
Caching is a temporary storage location for copies of data, such as files, scripts, code and images. During the caching process, copies of frequently accessed data are stored in a computer’s memory so that they can be quickly retrieved in the future. The data will be easier to access because it won’t have to be requested and downloaded again from the primary database (e.g. the server).
In practice, this means that data is automatically stored on your computer the first time you visit a website or use an app. When you visit this website or app again, the data can be easily retrieved from the cache so that the page loads much more quickly.
Cache expiry
So, what happens when data is stored in the cache but the website updates before you visit it again?
To deal with this issue, caches have an expiry period. After this period, the caching system checks with the host server to see if there have been any changes to the site. If there have been changes, the cache will automatically update so that users can see the latest version of the website.
What are the benefits of VPS caching?
The primary benefit of VPS caching is that it improves the page loading speed of your website. Nowadays, consumers won’t wait more than a couple of seconds for a page to load, so if you want to reduce your bounce rate and keep people coming back to your site, you need to optimise your page speeds.
Another benefit of caching is that it reduces the load on your server. Since there won’t be as many requests to your VPS for data, this will protect the server and minimise the risk of poor performance or crashes.
Why should I use VPS caching?
Caching is essential if you want to speed up your website, reduce strain on your VPS and attract more online customers.
To get started with VPS caching, you need to know how to install your own caching software and plugins. For a step-by-step guide on choosing your VPS, connecting to it and managing software, read our article on how to set up a VPS. Once you’ve set up your VPS, use one of the VPS caching methods below.
Best VPS caching methods
Now that we’ve established the importance of caching, it’s time to figure out how you can create caches to boost the speed and performance of your VPS. Luckily, there are various VPS caching methods available, so let’s look at the top three.
1. Server-side caching
One of the most effective methods is server-side caching. With this method, you’ll need to install caching software to allow your server to store data in a cache and load your website more efficiently. Luckily, with a VPS, you’ll have full root access to customise your server and install your own software.
Server-side caching is generally recommended for static sites that don’t update their content too often. This is because commonly accessed web pages will be copied to a cache within the server, ready to be used as soon as a user clicks on the page. This will prevent the server from having to recreate and send the same page over and over again.
Some of the most popular caching software options include:
- Varnish: This is an HTTP accelerator that stores all of the HTML/CSS codes for your web pages. Whenever a new request is made, Varnish saves this request and the content that’s been asked for. When this request is made again, the data will come straight from the Varnish cache within your VPS so that the server doesn’t have to process the request again.
- Memcached/Memcached with PHP: This is a memory-caching system that speeds up sites that use databases.
- Squid: This is a caching and forwarding HTTP web proxy. It can cache repeated requests and frequently used web pages.
To learn more about installing caching software on your VPS, read our helpful guide on installing software on dedicated and virtual servers.
2. Browser caching
The opposite of server-side caching is browser caching, also known as client-side caching. With browser caching, copies of web pages are temporarily stored in the browser memory rather than the cache in the server. Images, HTML pages, CSS files and other types of multimedia files can all be cached in the web browser.
HTTP requests and responses facilitate communications between servers and clients, and they can be stamped with key-value pairs called headers that contain important information about each communication. For example, request headers can contain information on what resource is being requested, what browser the client is using, and what data formats the client will accept. Response requests can include information on whether the request was fulfilled and the language and format of resources in the response.
These HTTP headers are also used to outline caching rules for client-side caching. To ensure that certain files on your web pages are cached in the web browser, you need to set file headers that instruct the browser to cache them. These cache-control HTTP headers are used to define browser caching policies, which can include how and where a resource is cached and its maximum age before expiring.
The cache-control header is broken up into directives – here are the most common ones:
- Cache-control: max-age – This sets the amount of time before a cached copy expires.
- Cache-control: no-cache – This means a browser can cache a response but must first send a validation request to an origin server.
- Cache-control: no-store – This means a browser isn’t allowed to cache a response – this directive is commonly used for sensitive data such as banking details.
- Cache-control: public – This allows a resource to be cached by any cache.
- Cache-control: private – This indicates that a resource is user-specific and can only be cached on a client device, not by an intermediary agent like a CDN (content delivery network) or proxy. These resources often contain private data like personal information.
As you can see, the ‘key’ to the left of the colon is always ‘cache-control’, and the ‘value’ for each header is on the right. There can be one or several values for each cache-control header, allowing you to set multiple caching rules (e.g. a public value and a max-age value to allow a resource to be cached for a set amount of time).
3. WordPress caching: Third-party caching plugins
If you’re hosting a WordPress website on your VPS, you can take advantage of plugins that aid your caching and page speeds. Popular WordPress caching plugins include WP Super Cache, Cache Enabler, and W3 Total Cache.
The best plugins will automatically cache pages as static files and also turn on recommended caching settings, such as cache pre-loading, page cache and gzip compression. Features such as gzip compression are used to compress files to allow for faster network transfers, speeding up your WordPress site.
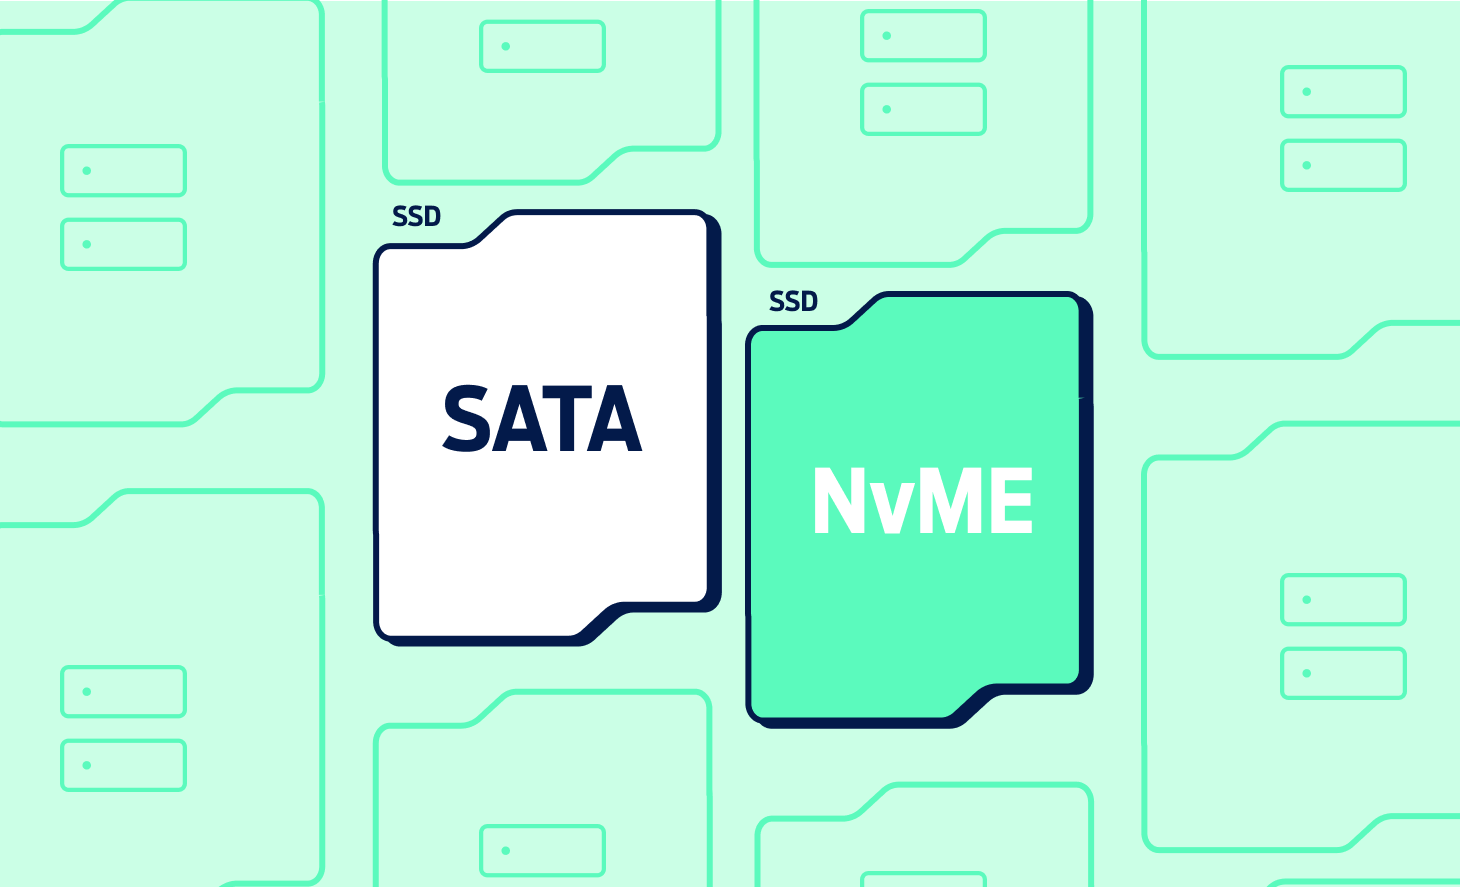
4. SSD caching
SSD caching, which is also called flash caching or flash memory caching, is another caching method that promises to fulfil data requests more quickly. Frequently accessed data is stored on NAND memory chips (a type of non-volatile storage technology) in a solid-state drive (SSD) to improve its input/output (I/O) performance, which shortens page loading times.
SSDs have much faster read/write speeds and access times compared to hard disk drives (HDDs), so using an SSD cache will make your website even faster and more easily accessible. The SSD cache is secondary to dynamic random access memory (DRAM), non-volatile DRAM (NVRAM) and RAM-based caches, but it will be used if caching data here can improve overall system performance.
So, how does this all work? Frequently accessed data (also known as ‘hot data’ or ‘active data’) is stored on the SSD. When a data request is made, this request first goes through the DRAM cache. If the data isn’t here, the request is sent to the SSD cache, where data can be accessed with lower latency. The slower storage media (e.g. hard drives) are only accessed if data cannot be read from the SSD cache. If data in the hard drive is deemed worthwhile to cache, it can then be copied over to the SSD cache.
The SSD is therefore a secondary cache compared to the primary cache in the DRAM, and they work slightly differently. In the primary cache, each I/O operation is required to stage data through the cache to perform the operation, and the data is then stored in DRAM after a host read. In the SSD cache, the data is copied from volumes and is stored on two internal RAID volumes, which are generated when you create the SSD cache. This secondary cache is only used if it’s beneficial for overall system performance to cache data here.
Want to maximise the performance of your servers with fast hosting? Get in touch with our experts today to see how we can help your business operate at maximum efficiency with our Fast Web Hosting and Fast Hosting for WordPress packages.